 Gregory Holloway is the chief engineer for the BigBox 3D printer and the inventor of the MicroSlice Mini Laser Engraver and Cutter, and this Oxford, UK, resident is always looking for new ideas for projects to build or ways to improve existing products.
Now Holloway has built a 3D Printed Raspberry Pi Camera based on a camera he designed last year called the SnapPiCam. This latest camera was designed, he says, in response to the newly released Adafruit PiTFT.
Now that he’s made entry into 3D printing, he says the time was right to “revisit the SnapPiCam and reinvent it as a 3D printable camera using newer and better parts.”
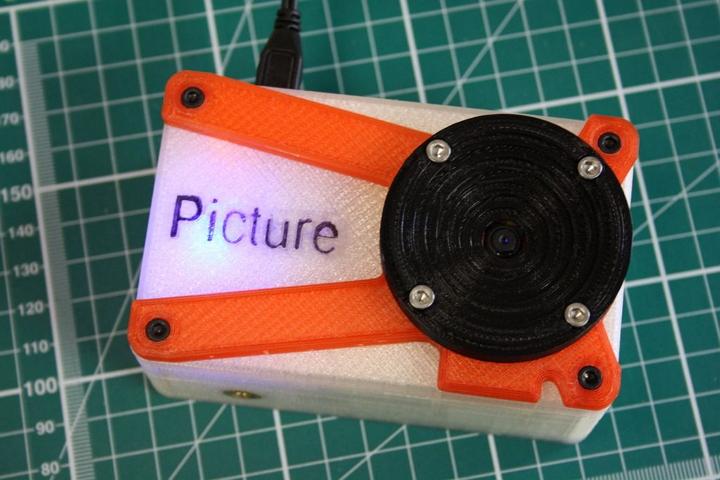
He calls his new camera the Picture, and it’s also been entered into Instructables’ Raspberry Pi Contest (in which his SnapPiCam took home first prize last year).

Gregory Holloway with the 3D printed camera
To build your own Picture, you’ll need a Raspberry Pi Model A+, the Adafruit PiTFT 2.8″ TFT 320×240 + Capacitive Touchscreen, an Adafruit PowerBoost 1000 Charger and the Adafruit Lithium Ion Polymer Battery – 3.7v 2500mAh, a Raspberry Pi Camera & FFC or an Omnivision OV5647 based compatible camera board, the Adafruit Miniature WiFi (802.11b/g/n) Module, an 8gb or more MicroSD Card, a Miniture 19mm Slide Switch and an optional 1/4-20 UNC Brass Insert for a tripod mount and perhaps an optional set of Adafruit Tactile Switch Buttons.
Using his BigBox 3D Printer, of course, Holloway used 123D Design to build the necessary design files, and he also offers a critical tip if you plan to build your own.
“I learnt a long time ago now that it is best to check the electronics before starting on any design work,” Holloway says. “It can be very disheartening if you go through all the motions of design and assembly to find that when it comes time to turn things on nothing works.”
 Following a rough mock up to determine the ultimate location of all the components, he gave each component a consistently used color and then added four pillars to represent the spots where each case screw would be located.
Using the “square solid,” Holloway sculpted the case for the LCD. 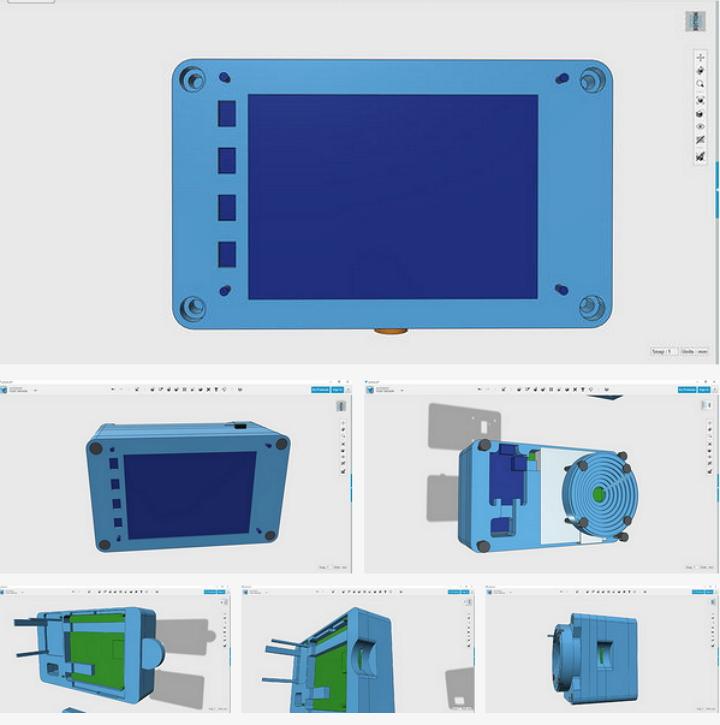
He used a 1/4-20 UNC Brass Insert as the standard, threaded mount piece for tripod mounting.
With trick he pulled from the design of the BigBox 3D printer’s electronics mounting, Holloway used PCB stand-offs to raise the Rumba board off the printer’s base plate to avoid the problem of having “nasty nuts or bare threads poking out.”
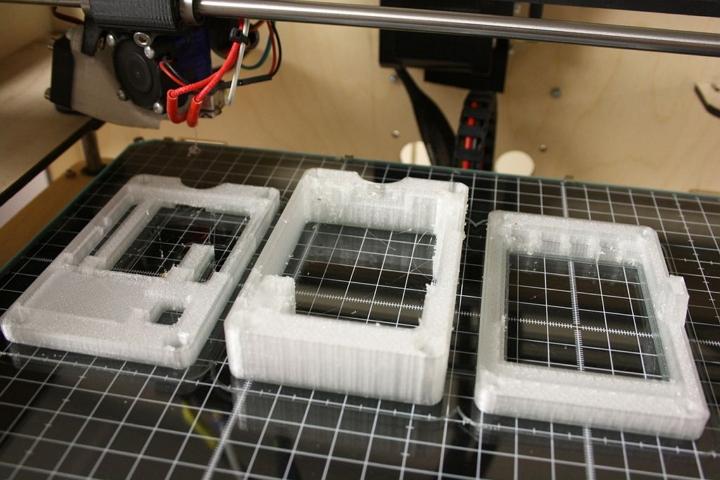
Once the 123D Design .STL files were exported, he used Simplify3D to handle the slicing tasks and generated the G-Code for printing in Natural PLA for the first test print. The front cover was printed in transparent red M-ABS, and the lens cover is in black PLA.
Holloway says it took around 10 hours to print all necessary parts for the Picture.
You can check out the exceptionally detailed and helpful documentation Holloway wrote for the 3D Printed Picture here in the Instructable he put together.
Will you build your own version of the 3D Printed Raspberry Pi Camera by designer Gregory Holloway? Let us know in the Picture 3D Printed Raspberry Pi Camera forum thread on 3DPB.com.


